Learn how to present builder-grade and premium vinyl siding without insulting the lower-priced option or pressuring the homeowner. Compare construction, appearance, panel lengths, accessories, warranties, and installed cost.
Contractor Sales Training | Suburban Wholesale & Supply
Builder-Grade vs Premium Siding Sales Presentation
A strong siding presentation does not make the builder-grade panel sound bad or the premium panel sound magical. It shows the exact differences, connects them to the homeowner’s priorities, and makes the added cost easy to understand.
Homeowners may assume that all vinyl siding is essentially the same. From across the kitchen table, two panels can appear similar—especially when the conversation focuses only on color and total price.
Contractors understand that products can differ in panel construction, wall thickness, rigidity, profile depth, nailing hems, locking systems, textures, colors, panel lengths, accessories, testing, and warranty terms. The sales challenge is explaining those differences without burying the homeowner in technical language.
Before building the presentation, review the available vinyl siding products from Suburban Wholesale & Supply and select options that create a fair, project-specific comparison.
Begin With an Important Clarification
“Builder grade” and “premium” are broad market descriptions—not universal technical classifications. One manufacturer’s builder-grade product may differ significantly from another manufacturer’s standard line. Premium products also vary.
Always compare the exact manufacturer, product line, profile, published specifications, accessory package, installation requirements, and warranty. Never ask the homeowner to buy a label.
The Goal of the Presentation
Your job is not to prove that the builder-grade panel is unacceptable. If you would not confidently install it, it should not be in your proposal.
Your job is to show what changes when the homeowner moves to the premium option and then ask whether those changes justify the additional investment for this particular home.
A credible presentation compares products. A weak presentation attacks the less expensive choice.
Step 1: Set Up the Comparison
Begin by telling the homeowner what you will compare and why. This keeps the presentation organized and reduces the feeling of a surprise upsell.
“I am going to show you two siding options. Both are products we can install confidently. The builder-grade option keeps the material cost lower and provides a practical, low-maintenance exterior. The premium option adds specific construction and appearance features. We will compare the panels, the finished look, and the exact price difference, and then you can decide which better fits your priorities.”
Step 2: Ask What the Homeowner Values
Do not begin the technical comparison until you understand what the homeowner wants from the project. Otherwise, you may spend ten minutes explaining a feature they do not value.
Ask questions such as:
- How long do you expect to remain in the home?
- What bothers you most about the existing exterior?
- How important is the appearance from the street?
- Do you prefer subtle or deeper shadow lines?
- Are there particular colors you want to consider?
- Would fewer visible siding seams matter to you?
- Is your primary goal the lowest responsible price?
- Would you like to compare the options side by side?
Their answers tell you which differences deserve attention and whether premium siding is a sensible recommendation.
Builder-Grade vs Premium Vinyl Siding
| Comparison Point | Builder-Grade Option | Premium Option |
|---|---|---|
| Primary purpose | Practical, low-maintenance exterior at a lower material cost | Upgraded product construction, appearance, or available features |
| Wall thickness | Generally positioned toward the manufacturer’s standard range | Often heavier, depending on the exact product line |
| Rigidity | Product-specific standard panel construction | May provide a more substantial feel and added rigidity |
| Profile | Common profiles and practical dimensions | May offer deeper laps, stronger shadow lines, or additional styles |
| Texture | Standard manufacturer emboss and finish | May offer a more refined texture or lower-gloss appearance |
| Panel length | Standard lengths based on product availability | Some lines offer longer panels to reduce visible overlaps |
| Color selection | Core colors and traditional choices | May include broader palettes or deeper color options |
| Accessories | Essential matching components | May offer more coordinated trim, soffit, and accent choices |
| Installed price | Lower initial investment | Higher investment based on the upgraded product package |
These are general comparison areas. Verify every claim using the current specifications for the exact products being presented.
Step 3: Put the Panels Side by Side
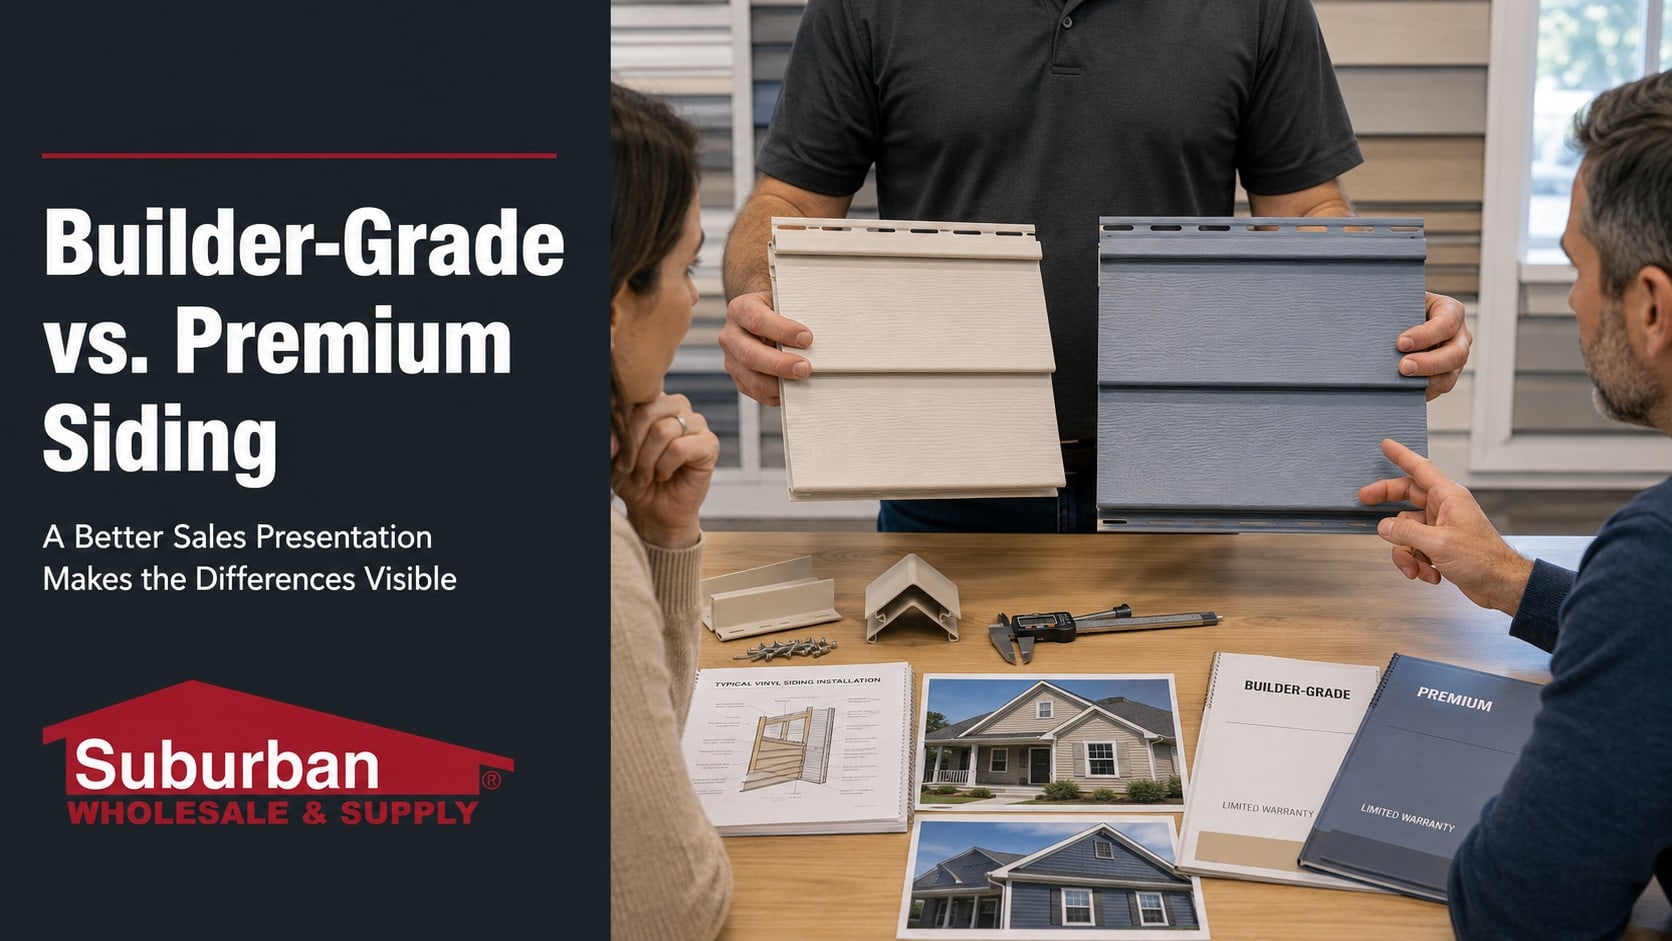
Physical samples make the presentation easier to understand. Let the homeowner hold both panels and compare their thickness, rigidity, profile, texture, nailing hem, and locking edge.
Keep the demonstration honest. A small sample cannot prove how a product will perform under wind, hail, temperature changes, or decades of exposure.
Use the samples to explain:
- The difference in panel construction
- How the profiles create different shadow lines
- The appearance of the texture in natural light
- How the panel locks into the course below
- Why proper fastening is required for both products
- Which differences will be visible on the finished home
Step 4: Explain Thickness Without Making It the Entire Story
Premium siding often has a heavier published wall thickness. That can contribute to rigidity and a more substantial panel, but it should not be presented as the only measure of quality.
Profile design, locking system, nailing hem, panel formulation, substrate support, fasteners, accessories, and installation practices also influence the complete siding system.
“The premium panel is thicker and more rigid. You can feel the difference in the samples. That may help create a more substantial, straighter-looking finished wall, but it still depends on proper wall preparation and installation.”
Step 5: Sell the Finished Appearance
Technical specifications create credibility, but appearance often creates desire. Show how the proposed siding will affect the entire elevation—not just how the panel looks in your hand.
Discuss:
- Course proportions on the home
- Shadow-line depth
- Wall smoothness and visual rigidity
- Seam placement and overlap visibility
- Trim width around windows and doors
- Corner-post size and color
- Coordination with brick, stone, roof, and entry door
- Potential vertical, shake, or board-and-batten accents
“The premium option creates a deeper shadow line and gives this front elevation more dimension. The builder-grade panel has a flatter, more understated appearance. Which look fits what you want for the house?”
Step 6: Demonstrate the Value of Longer Panels
If the premium line offers extended-length panels, use the home’s measurements to show how many visible overlaps may be reduced. A general promise of “fewer seams” is less persuasive than a project-specific layout.
“With standard-length panels, this front wall will require approximately this many overlaps. The longer premium panels may reduce that number. You will still have joints, but the elevation should appear cleaner from the driveway.”
Do not promise a seamless home unless the actual wall dimensions and product lengths make that possible.
Step 7: Compare Color and Design Choices
Premium product lines may include additional colors, deeper shades, or coordinated exterior components. For some homeowners, the desired color may be a stronger reason to upgrade than panel thickness.
Use the largest available samples and compare them with permanent elements such as roofing, brick, stone, and windows. View samples in sunlight and shade whenever possible.
Confirm that the chosen color is available in the exact profile, panel length, soffit, trim, and accessory package being proposed.
Step 8: Keep Installation Quality Equal
The builder-grade option should not receive builder-grade workmanship. Wall preparation, flashing, fastening, expansion clearances, seam planning, cleanup, and supervision should remain professional across every product level.
Explain what remains consistent:
- Inspection of the existing wall
- Repair of approved substrate problems
- Water-resistive barrier and flashing details
- Manufacturer-approved fasteners and spacing
- Expansion and contraction allowances
- Correct panel engagement and alignment
- Compatible trim and accessories
- Jobsite protection, cleanup, and final inspection
“The installation standards do not change between these options. The added investment buys the premium product package—not a different level of care from our crew.”
Step 9: Compare Written Warranties
Provide the actual manufacturer warranties for both products. Do not reduce a detailed legal document to the phrase “lifetime warranty.”
Compare:
- Covered product conditions
- Fade definitions and limitations
- Hail or impact provisions
- Transferability
- Proration, if any
- Labor and accessory limitations
- Maintenance requirements
- Claim procedures and documentation
Explain the contractor’s workmanship warranty separately from the manufacturer’s product coverage.
Step 10: Isolate the Exact Upgrade Cost
Show the total installed price for each option, then identify the exact difference. Homeowners need to know what the upgrade costs and what changes for that amount.
“The complete builder-grade siding project is $24,800. The premium package is $27,300. The difference is $2,500. That additional amount includes the heavier panel, deeper profile, selected premium color, and matching product accessories listed here.”
Never hide the full price behind monthly financing language. If financing is discussed, disclose both the payment terms and total financed cost.
Step 11: Put the Cost in Context Without Manipulating It
If the homeowner plans to remain in the property for many years, the upgrade cost can be discussed over that expected ownership period. This provides perspective but does not reduce the real total.
“You said you expect to remain here for at least 15 years. The $2,500 upgrade equals about $167 per year over that period. The total added cost is still $2,500; this simply helps you decide whether the visual and product differences are worth that investment.”
Do not promise that premium siding will pay for itself, eliminate energy bills, or return its entire cost at resale.
Step 12: Make a Recommendation Based on the Home
Homeowners often want the contractor’s opinion. Give it—but connect it to their priorities and the actual house.
When premium is the stronger choice
“Because you plan to remain here long term, the front elevation is very visible, and you prefer the deeper profile, I believe the premium panel is worth considering. The decision comes down to whether those appearance differences justify the additional $2,500.”
When builder grade is enough
“Because this is a limited rear addition and your priority is controlling cost, I do not think you need the premium panel here. The builder-grade option is the more practical choice for this scope.”
Step 13: Close With a Choice, Not Pressure
Once the products and prices are clear, stop presenting. Give the homeowner room to decide.
“Both products are reasonable choices. Which option better matches the appearance you want and the amount you are comfortable investing?”
If the homeowner selects builder grade, support the decision. A smaller sale built on trust is better than a premium sale the homeowner later regrets.
Complete Five-Minute Sales Presentation
“I brought two products that fit your project. Both are vinyl siding systems we can install confidently, and both will provide a low-maintenance exterior when installed and maintained correctly.”
“This is the builder-grade option. It gives you a practical product, traditional profile, and core color selection at the lower price.”
“This is the premium option. It has a heavier panel construction and a deeper profile. You can feel the difference in rigidity and see the stronger shadow line when we hold the samples in natural light.”
“The premium line also gives us access to the color you preferred and offers longer panels for the main front elevation. Based on the measurements, that may reduce the number of visible overlaps across that wall.”
“The installation quality remains the same with either option. We will inspect and prepare the wall, complete the required water-resistive barrier and flashing, use the specified fasteners and clearances, and install the appropriate matching accessories.”
“The builder-grade package is $24,800. The premium package is $27,300. The exact difference is $2,500. Here is the written list of the upgraded features included for that amount.”
“Since you plan to stay in the house and care about the front elevation, I think the premium option deserves serious consideration. But the builder-grade panel remains a reasonable choice if controlling the project cost is more important.”
“Which option feels like the better fit for your home?”
What Contractors Should Never Say
| Avoid Saying | Say This Instead |
|---|---|
| “Builder grade is cheap junk.” | “Builder grade prioritizes the lower initial investment.” |
| “Premium siding will never have problems.” | “Premium siding includes these documented product features.” |
| “Thicker siding is storm-proof.” | “Thickness is one factor; product design, testing, and installation also matter.” |
| “Everyone buys the premium option.” | “Homeowners who value these features often select premium.” |
| “It is only a little more.” | “The exact installed-price difference is $2,500.” |
| “You will regret choosing builder grade.” | “Here is what you gain and give up with each option.” |
| “This upgrade will pay for itself.” | “Let’s decide whether the documented features justify the investment for you.” |
What the Written Proposal Should Show
The homeowner should be able to reopen the proposal several days later and clearly understand the comparison.
- Manufacturer and exact product line
- Profile, color, texture, and panel length
- Published wall thickness
- Product-specific construction features
- Included corners, trim, soffit, and accessories
- Wall preparation and flashing scope
- Installation requirements common to both options
- Manufacturer warranty documents
- Contractor workmanship warranty
- Complete installed price for each option
- Exact dollar difference between the packages
Contractor Presentation Checklist
- Select two products you would confidently install.
- Verify every feature using current manufacturer specifications.
- Ask what the homeowner values before presenting the upgrade.
- Use comparable physical samples.
- Show colors and textures in natural light.
- Translate technical features into homeowner outcomes.
- Use the home’s measurements to demonstrate seam differences.
- Show how the entire exterior design will change.
- Keep installation quality consistent between product levels.
- Provide complete written warranty documents.
- State the full project price for each option.
- Isolate the exact upgrade cost.
- Explain the upgrade’s tradeoffs and limitations.
- Recommend the product that fits the homeowner and the house.
- Respect the homeowner’s final decision.
Let the Differences Earn the Upgrade
Premium siding should not be sold by frightening homeowners away from builder grade. It should earn consideration through documented product differences, a stronger finished appearance, useful design choices, and a transparent price comparison.
When contractors use samples, project measurements, clear language, and complete written proposals, homeowners can see where the additional money goes.
Some homeowners will select premium siding. Others will decide that builder grade better matches their budget. A fair presentation builds trust in either outcome—and trust creates referrals, reviews, and future work.
Build Your Builder-Grade and Premium Siding Comparison
Suburban Wholesale & Supply helps contractors compare vinyl siding profiles, panel construction, colors, textures, accessories, warranties, and availability. We serve Davenport, Bettendorf, Moline, Rock Island, East Moline, and surrounding Quad Cities communities.
Explore our vinyl siding product options and ask our team to help you assemble an accurate side-by-side presentation for your next homeowner consultation.
Better product knowledge creates better presentations—and better presentations move the conversation beyond price alone.
Part of: Selling Siding & Windows
More in Selling Siding & Windows
- SteelSide vs. SteelTek Supreme: Which Customer Fits Each Product? | Suburban Wholesale Contractor Academy
- Clapboard vs. Dutch Lap: How to Explain the Difference to a Homeowner
- Siding Estimate vs. Sales Presentation: What's the Difference?
- Turn Your Siding Brake Into a Sales Tool With Custom Trim
Sample books, color decks, demo kits and cutaways are available at the counter, and most are free.
Share This Post
Share it on Facebook or X, or send it through your device share sheet for Instagram.