Learn how to properly hang Gentek vinyl siding using correct fastening, expansion clearances, panel alignment, flashing, and manufacturer specifications. VSI Trainer Brian “JR” Girskis provides contractor support throughout the Quad Cities.
Gentek Contractor Education | Suburban Wholesale & Supply
How to Properly Hang Gentek Vinyl Siding
Properly installed vinyl siding is hung—not tightly nailed—to the exterior wall. That distinction is one of the most important principles contractors must understand when installing Gentek vinyl siding.
By Brian “JR” Girskis, President of Suburban Wholesale & Supply and VSI Trainer
Gentek vinyl siding is designed to create a durable, attractive, and low-maintenance exterior. However, even a premium siding panel depends on correct installation. Improper fastening, inadequate clearances, uneven layout, or careless flashing can prevent the siding system from performing as intended.
Installation details are especially important in the Quad Cities. Homes in Davenport, Bettendorf, Moline, East Moline, Rock Island, and nearby communities experience cold winters, humid summers, strong wind, heavy rain, and significant temperature changes. Gentek siding must be able to expand and contract as exterior temperatures change.
This guide explains the essential principles behind properly hanging Gentek vinyl siding. It should be used with the current Gentek installation instructions, applicable building codes, VSI installation guidance, and the requirements for the exact Gentek product being installed.
The Standards Behind a Professional Installation
Proper installation begins before the first panel is placed on the wall. Contractors should identify the exact Gentek product and review the technical requirements that apply to it.
- Gentek manufacturer specifications: The current Gentek installation instructions are the primary source for product-specific fastening, spacing, clearance, accessory, and handling requirements.
- VSI installation guidance: VSI training covers established practices for installing vinyl and polymeric siding, including wall preparation, panel movement, fastening, flashing, water management, and finishing details.
- ASTM D3679: This specification addresses rigid PVC siding and directs installers to accepted installation practices and the manufacturer’s instructions for the specific product.
- ASTM D5206: This test method addresses the wind-load resistance of rigid plastic siding. Installed performance still depends on the supporting wall, fastening method, accessories, and quality of installation.
- Applicable building codes: Local requirements may govern the water-resistive barrier, flashing, fastener attachment, clearances, and other parts of the exterior wall assembly.
Installation requirements can differ between Gentek product lines and wall assemblies. Never assume that one fastening schedule or clearance measurement applies to every Gentek panel.
1. Inspect and Prepare the Wall
Vinyl siding follows the surface beneath it. Gentek panels should be installed over a flat, secure, and properly prepared substrate. If the wall is uneven, the finished siding may appear wavy regardless of the quality or thickness of the panel.
Before installing siding, inspect for:
- Loose or deteriorated sheathing
- Rot, moisture damage, or structural movement
- Protruding nails and fasteners
- Uneven old siding or wall materials
- Improperly fitted insulation panels
- Missing or damaged water-resistive barrier
- Incomplete flashing around openings
Correct wall problems before covering them. Vinyl siding should never be used to conceal active water damage or a deteriorated substrate.
2. Complete the Water-Management System
Gentek vinyl siding is an exterior cladding. It is not the home’s primary water-resistive barrier. Wind-driven rain can move behind exterior cladding, so the wall assembly must be designed to direct incidental water down and away from the structure.
Pay particular attention to:
- Windows and exterior doors
- Roof-to-wall intersections
- Deck and porch connections
- Faucets, vents, lights, and electrical boxes
- Utility penetrations and mounting blocks
- Transitions between different cladding materials
Flashing should be properly integrated with the water-resistive barrier so water is directed outward. Caulk should not be treated as a substitute for correct flashing.
3. Establish a Straight, Level Starting Point
Every siding course depends on the position of the starter strip. Contractors should establish a level reference around the home rather than automatically following the foundation, driveway, porch, or existing siding.
A small starter-strip error can become highly visible as the siding courses reach windows, doors, soffits, and adjoining elevations. Confirm the layout before fastening the starter strip.
A straight first course creates a cleaner installation. A crooked starter strip creates a problem that follows the crew all the way up the wall.
4. Install Corners and Receiving Accessories Correctly
Outside corners, inside corners, J-channel, utility trim, window trim, and other accessories establish the finished edges of the siding system. If these components are crooked, loose, or incorrectly spaced, the finished wall will reflect those errors.
Accessories must also be installed so they can accommodate thermal movement where required. Follow Gentek specifications for fastener placement, overlap, clearance, and attachment.
Take time to align accessories with the architecture of the home. Straight corners and balanced trim create crisp shadow lines and give the completed exterior a more professional appearance.
5. Use the Correct Fasteners
Fasteners should be corrosion resistant, compatible with the wall assembly, and capable of reaching the required fastening base. The appropriate fastener type, length, head size, spacing, and penetration should come from the current Gentek instructions and applicable code requirements.
A long fastener is not automatically a correct fastener. The installer must know what material is behind the siding and where the fastener is intended to attach.
Avoid these fastening mistakes:
- Using fasteners that can corrode or stain
- Failing to reach the required fastening base
- Using fastener heads that are too small
- Increasing spacing beyond product specifications
- Angling fasteners through the nailing hem
- Depending on weak or damaged sheathing for attachment
6. Center Fasteners in the Nail Slots
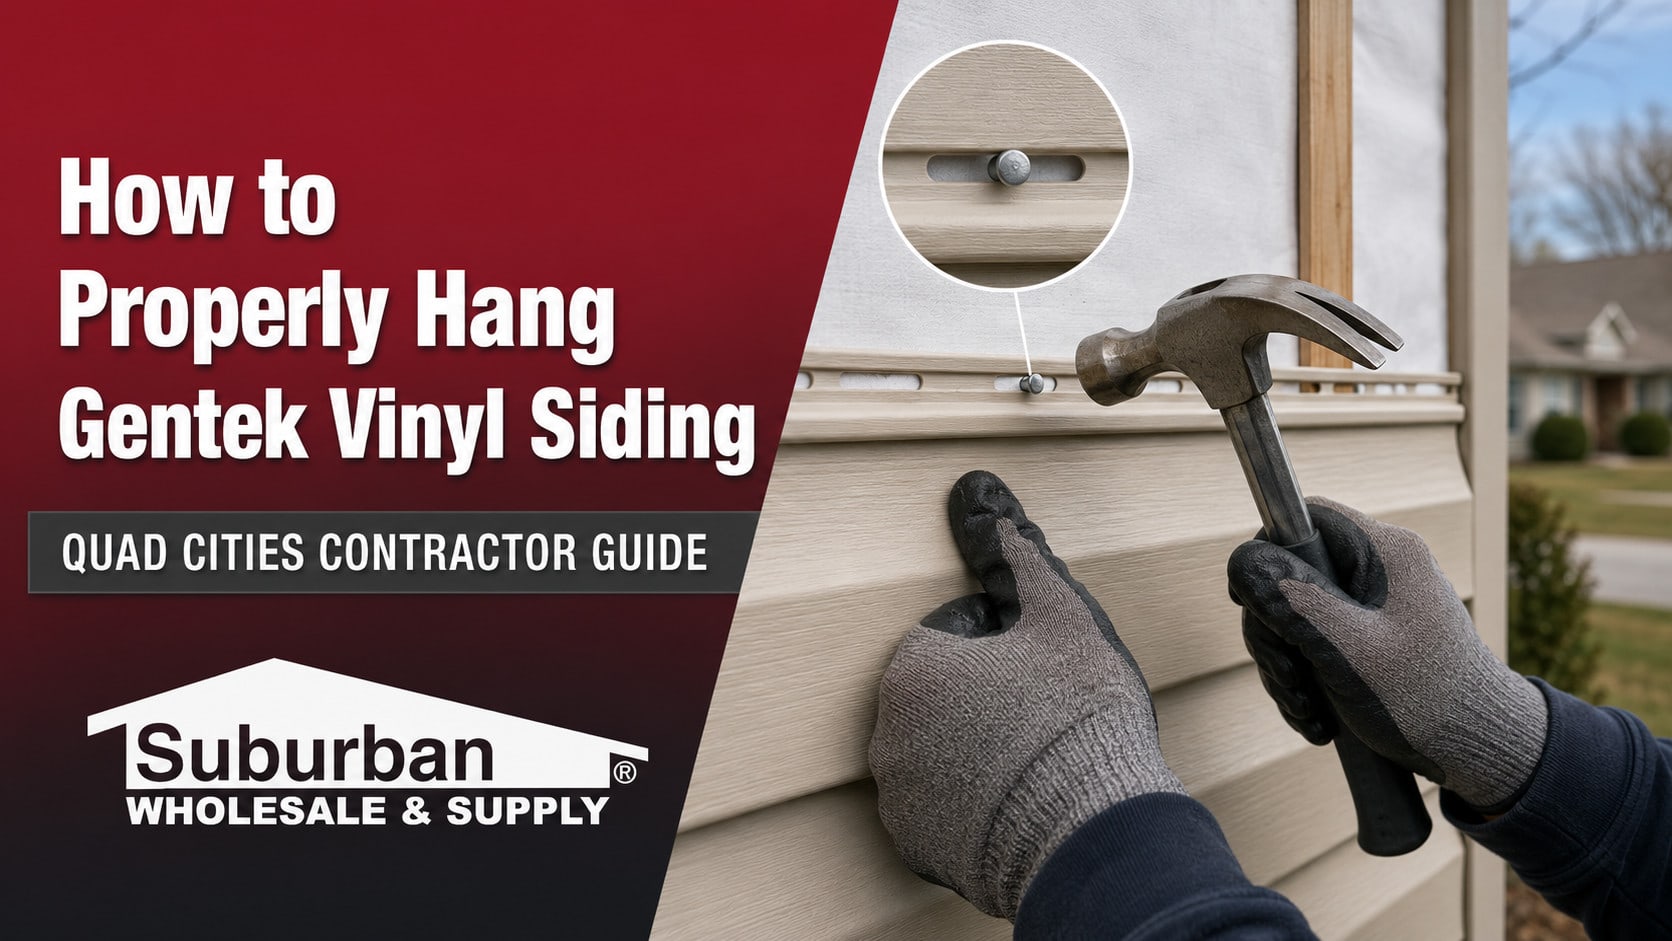
Gentek siding panels have elongated nail slots because the panels are intended to move as temperatures change. Unless a specific accessory detail says otherwise, fasteners should generally be placed near the center of the slots.
Fastening at the end of a slot can restrict movement in one direction. Centered fastening gives the panel room to expand and contract more evenly across the wall.
7. Never Fasten the Panel Tightly Against the Wall
The phrase “hang vinyl siding” is important. A panel should be secure, but it should not be clamped tightly against the wall by the fastener head. Gentek siding needs enough freedom to move horizontally within its nail slots.
Overdriven fasteners can cause buckling, rippling, distorted profiles, and unlocked panels. These problems may not appear immediately. A wall can look acceptable on installation day and develop visible waves after prolonged sun exposure or a major temperature change.
Check the work as installation progresses:
- Confirm the fastener head is not pinching the nailing hem.
- Slide the panel gently from side to side after fastening it.
- Adjust pneumatic-tool pressure if fasteners are being overdriven.
- Do not use fasteners to pull a crooked or uneven wall into alignment.
8. Leave the Required Expansion Clearance
Gentek siding panels require clearance where they enter corner posts, J-channel, window trim, door trim, and other receiving accessories. That space allows the panels to expand without pushing against a rigid edge.
Clearance requirements may change based on the product, panel length, accessory, and outside temperature during installation. Cold panels behave differently from panels installed during hot weather.
Use the clearance listed in the current Gentek instructions for the exact product and conditions. Do not rely on one memorized measurement for every siding job.
9. Engage Each Course Without Stretching It
Lock each Gentek panel securely into the course below, but do not pull upward so aggressively that the panel is placed under tension. The course should hang naturally after the lock is fully engaged.
Stretching panels upward can distort the profile, create uneven shadow lines, and contribute to alignment problems. Check courses regularly with a level instead of assuming the lock will keep the wall straight.
10. Plan Seams Before Cutting Panels
A technically correct installation should also look intentional. Thoughtful seam placement makes the exterior appear cleaner and helps keep attention on the home’s architecture rather than the panel joints.
Good layout practices include:
- Staggering joints so seams do not form obvious vertical patterns
- Avoiding short pieces in highly visible areas
- Choosing overlap direction based on the primary viewing angle
- Maintaining consistent overlap direction across an elevation
- Planning panel placement around windows and doors
- Using factory-cut ends where they will be most visible
Step back from the wall periodically and look at the complete elevation. Details that appear minor from a ladder can become obvious from the driveway or street.
11. Finish Openings and the Top Course Carefully
Windows, doors, gables, soffits, and the top course require careful measuring and secure panel engagement. Utility trim, finish trim, or other approved accessories should be installed according to Gentek’s instructions.
A cut panel should not be loosely tucked into place and expected to remain secure. It should be properly formed and engaged using the approved installation method for that detail.
Avoid face-nailing through the visible surface of a panel unless Gentek provides an approved product-specific detail. Face-nailing can restrict movement, create a visible defect, and introduce an unnecessary water path.
Final Gentek Siding Installation Checklist
Before considering an elevation complete, inspect the following:
- The starter strip and siding courses are level.
- Panels are fully engaged but have not been stretched upward.
- Fasteners are centered in the nail slots where required.
- Fastener heads are not pinching the panels against the wall.
- Panels can move freely from side to side.
- Required expansion clearances have been maintained.
- Seams are staggered and overlaps face away from primary sightlines.
- Corners, J-channel, and trim accessories are straight and secure.
- Flashing and drainage paths have not been blocked with sealant.
- Cut panels at openings and top courses are properly secured.
- The finished elevation looks balanced from the street.
Proper Installation Is Also About Aesthetics
Premium siding deserves premium layout. Straight courses, balanced transitions, crisp corners, thoughtful seams, and clean window details affect how homeowners perceive the entire project.
Panel thickness and product quality matter, but they cannot compensate for careless installation. Even a high-quality Gentek panel can look uneven if it is tightly fastened, stretched, installed over a poor substrate, or laid out without attention to sightlines.
A professional installer thinks about performance and appearance at the same time. The goal is not simply to cover the wall. The goal is to create a complete exterior that looks intentional from every important viewing angle.
Leverage Your VSI Trainer Before Problems Reach the Jobsite
Installation questions are easier to solve before material is cut or fastened. Brian “JR” Girskis, President of Suburban Wholesale & Supply, is a VSI Trainer with more than 25 years of experience in exterior building products.
JR helps Quad Cities contractors understand vinyl siding installation principles, review manufacturer specifications, identify potential installation problems, and train employees who are developing their siding skills.
Contractors working with Gentek siding can leverage this local training resource when they encounter unusual walls, product transitions, accessory questions, expansion concerns, or unfamiliar installation details. Asking before installing can prevent expensive callbacks and protect the contractor’s reputation.
Gentek Siding Should Be Allowed to Perform as Designed
Properly hanging Gentek vinyl siding comes down to disciplined fundamentals: prepare the wall, manage water, establish a level starting point, use the correct fasteners, allow panel movement, maintain the specified clearances, and finish every detail carefully.
When contractors combine Gentek manufacturer specifications with VSI installation guidance, applicable ASTM standards, building-code requirements, and careful workmanship, they give the siding system the best opportunity to remain straight, secure, and attractive through changing Quad Cities weather.
Get Gentek Products, Delivery, and Contractor Support
Suburban Wholesale & Supply stocks 29 Gentek vinyl siding colors and serves contractors throughout Davenport, Bettendorf, Moline, Rock Island, East Moline, and the surrounding Quad Cities. Our team can help with product selection, accessories, ordering, jobsite delivery, and installation questions.
Contact Suburban Wholesale & Supply and ask how VSI Trainer Brian “JR” Girskis can support your next Gentek siding project.
Part of: Installation
More in Installation
- Installing Gentek Vinyl Soffit During Quad Cities Temperature Extremes
- Common Vinyl Siding Installation Mistakes in the Quad Cities
- Choose a Gentek Shake Siding Installer | Quad Cities
- Why Vinyl Siding Starter Strip Matters | Davenport, Iowa
We host VSI and manufacturer training at our Davenport training center. Ask the counter about upcoming classes.
Share This Post
Share it on Facebook or X, or send it through your device share sheet for Instagram.