Can vinyl siding be installed during an Iowa winter? Learn how cold temperatures affect panel handling, expansion clearances, fastening, cutting, and jobsite storage—and why manufacturer specifications must guide every winter installation.
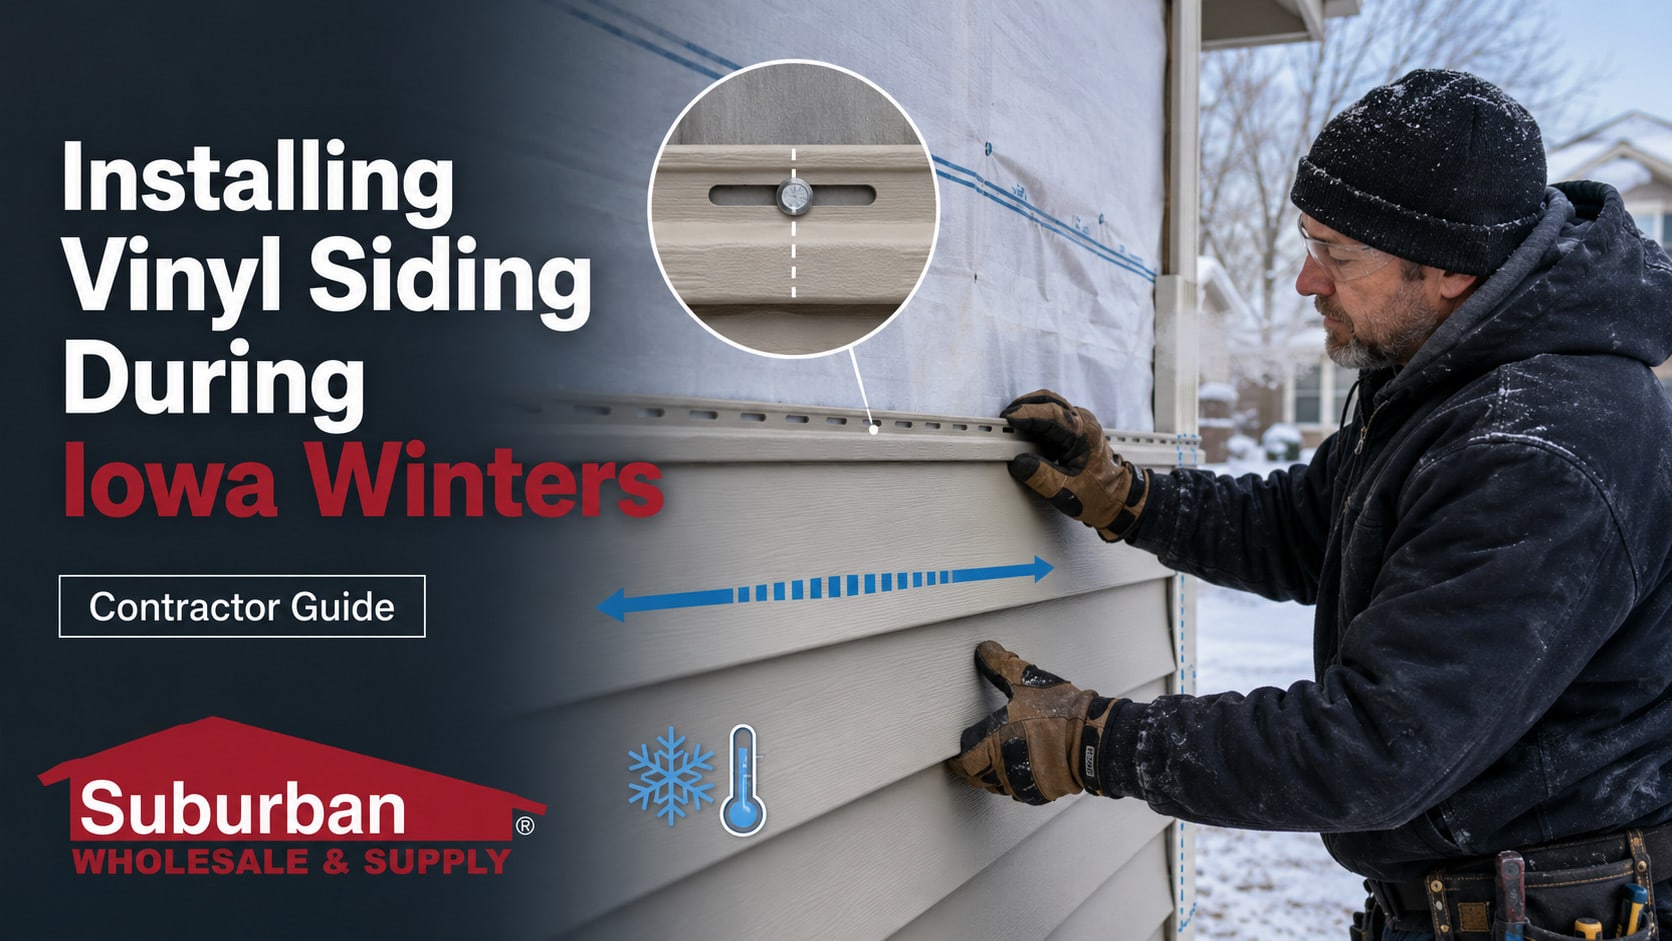
Cold-Weather Contractor Education | Suburban Wholesale & Supply
Installing Vinyl Siding During Iowa Winters
Vinyl siding can often be installed during an Iowa winter, but cold weather changes how panels should be stored, handled, measured, cut, fastened, and inspected. Winter installation requires patience, product-specific knowledge, and closer attention to thermal movement.
By Brian “JR” Girskis, President of Suburban Wholesale & Supply and VSI Trainer
Exterior contractors in Iowa cannot always wait for perfect weather. Homeowners still need damaged siding replaced, new homes still need to be completed, and construction schedules continue through the winter. The real question is not simply whether vinyl siding can be installed when it is cold. The better question is whether the crew understands how cold conditions affect the product and the installation process.
Vinyl siding contracts as it becomes colder. It may also become less flexible and more susceptible to damage from rough handling, hard impacts, or aggressive cutting. A panel installed in a contracted winter condition must have enough room to expand when it is heated by the summer sun.
Successful winter installation depends on current manufacturer specifications, VSI installation principles, applicable ASTM standards, building-code requirements, safe jobsite practices, and experienced judgment.
Can Vinyl Siding Be Installed During an Iowa Winter?
In many situations, yes—but only when the siding manufacturer permits installation under the actual conditions and the crew can safely follow the required cold-weather procedures.
There is no responsible universal temperature cutoff for every vinyl siding product, accessory, sealant, housewrap tape, flashing membrane, and installation method. Each component may have its own handling or application limits.
Before starting, review the current installation instructions and technical data for the exact siding system. If the manufacturer limits installation below a certain temperature or requires special procedures, those instructions control.
Standards and Specifications Still Apply in Cold Weather
Winter conditions do not reduce installation requirements. They make careful compliance even more important.
- Manufacturer specifications: The current product instructions establish requirements for temperature-related clearances, fastening, cutting, panel handling, accessories, and approved installation methods.
- VSI installation guidance: VSI training emphasizes proper wall preparation, centered fasteners, freedom of panel movement, water management, clearances, and correct accessory use.
- ASTM D3679: This specification addresses rigid PVC siding and directs installers to the applicable installation practice and the manufacturer’s instructions for the specific product.
- ASTM D5206: This test method evaluates wind-load resistance under prescribed fastening conditions. Installed performance still depends on the supporting wall, fastening pattern, penetration, accessories, and workmanship.
- Building codes: Applicable codes continue to govern attachment, water-resistive barriers, flashing, wall assemblies, and wind-resistance requirements.
Some older installation documents reference ASTM D4756. ASTM lists D4756-15(2021) as withdrawn in 2023. Contractors should verify current standards, codes, manufacturer instructions, and project documents rather than presenting a withdrawn edition as an active standard.
How Cold Weather Changes Vinyl Siding
Vinyl siding responds to the temperature of the panel itself—not simply the air temperature reported by a weather app. Material stored inside a warm building may behave differently from material that has been outside overnight.
Cold conditions can affect:
- Panel length: Vinyl siding contracts as it cools and expands as it warms.
- Flexibility: Cold panels may be less forgiving when bent, flexed, dropped, or struck.
- Cutting: Aggressive cutting methods may chip, split, or fracture cold material.
- Lock engagement: Cold locks and hems may require more deliberate handling.
- Accessory fit: Trim and siding installed in a contracted condition must still accommodate later expansion.
- Adhesive products: Flashing tapes, housewrap tapes, sealants, and adhesives may have separate temperature requirements.
1. Check the Complete Weather Window
Winter planning should include more than the expected daytime high. Review wind, precipitation, overnight temperatures, daylight, ice, and the conditions expected while materials are being stored and handled.
Evaluate whether the crew can safely:
- Set and move ladders on stable surfaces
- Keep scaffolding and work platforms free of ice
- Maintain safe footing while carrying long panels
- Control lightweight materials in strong winds
- Keep snow and moisture out of the wall assembly
- Complete flashing before the wall is covered
- Maintain required temperatures for tapes and sealants
If the conditions make safe, compliant installation unrealistic, delaying the work is better than forcing production.
2. Store Vinyl Siding Flat and Properly Supported
Cartons should be stored according to the manufacturer’s instructions, typically on a flat, supported surface that protects the panels from deformation and physical damage.
Do not balance cartons over narrow supports, pile unrelated materials on top of them, or leave the packaging where snow, ice, standing water, or jobsite traffic can damage it.
If material is moved from warm storage to a cold exterior, remember that the panel temperature will continue changing. Measurements and clearances should reflect the material’s actual installation condition and the manufacturer’s requirements.
3. Handle Cold Panels Gently
A crew that handles warm-weather siding roughly may damage the same product when it is cold. Long cartons and panels should be carried with adequate support rather than dragged, dropped, twisted, or sharply bent.
Avoid these cold-weather handling mistakes:
- Throwing cartons from a truck or trailer
- Dropping individual panels onto frozen ground
- Dragging siding across concrete or gravel
- Forcing sharply bent panels around corners
- Striking locks or hems with hard tools
- Twisting long panels while carrying them
4. Use Cold-Weather Cutting Methods Approved by the Manufacturer
Cold vinyl may be more susceptible to chipping or cracking during cutting. Use sharp tools, support the panel near the cut, and follow the siding manufacturer’s directions for approved cutting equipment and technique.
Do not force dull snips through the panel or make an unsupported cut that allows the material to vibrate. If using powered equipment, follow the manufacturer’s blade-orientation and safety instructions.
Inspect cut edges before installation. A small fracture at a corner, lock, or nail hem can grow when the panel is flexed or exposed to wind.
5. Allow for Future Summer Expansion
A siding panel installed in cold weather is relatively contracted. When that panel is heated by direct summer sunlight, it will become longer. The installation must provide enough room for this predictable movement.
Pay close attention where panels enter outside corners, inside corners, J-channel, window trim, door trim, mounting blocks, and other receiving accessories. If the panel is cut too tightly, future expansion may cause it to bow or buckle.
Do not guess at a winter expansion gap. Use the clearance specified by the manufacturer for the exact product, panel length, accessory, and installation temperature.
6. Center Fasteners and Preserve Panel Movement
The elongated nail slots in vinyl siding allow the panel to move laterally. Unless a manufacturer provides a different instruction for a particular accessory or condition, fasteners are generally placed near the center of the slots.
Fasteners should enter the approved fastening base straight. Their heads should secure the panel without clamping the nail hem tightly against the wall.
Check each installed course for:
- Correct fastener type and length
- Required penetration into the fastening base
- Manufacturer-specified fastener spacing
- Centered placement in the nail slots
- Straight rather than angled fasteners
- Freedom to slide the panel from side to side
Cold-weather installation is not a reason to drive fasteners more tightly. Doing so may trap the panel and create severe buckling when warm weather returns.
7. Recheck Pneumatic Fastener Settings
Pneumatic equipment can behave differently as air temperature, compressor performance, hose condition, substrate hardness, and moisture conditions change.
Test the nailer on a representative wall section or approved mock-up before beginning production. Confirm that fasteners are not being overdriven and that the panel can still move laterally.
Repeat the check when moving to a different wall assembly or when conditions change during the day.
8. Fully Engage Each Lock Without Forcing It
Each siding course should be completely engaged with the course below. Cold panels may require more careful handling, but the lock should not be hammered, sharply struck, or forced together in a way that damages the profile.
Once engaged, allow the panel to hang naturally. Pulling it upward under tension before fastening can distort the reveal and create uneven shadow lines.
If a lock will not engage normally, inspect for ice, debris, deformation, or panel damage rather than forcing it.
9. Keep Snow, Frost, and Ice Out of the Wall Assembly
Vinyl siding should not be used to conceal a wet, icy, or unfinished wall assembly. Snow and frost trapped behind the cladding will eventually melt, introducing moisture where it may not drain or dry as intended.
Before covering the wall:
- Remove snow, frost, and surface ice.
- Confirm the substrate is sound and suitable.
- Repair damaged or deteriorated sheathing.
- Complete the water-resistive barrier.
- Integrate flashing correctly around openings.
- Verify that tapes and membranes have bonded.
- Preserve drainage paths behind the siding.
10. Verify Cold-Weather Limits for Tapes, Sealants, and Flashing
The vinyl siding panel may not be the component that limits winter installation. Housewrap tape, self-adhered flashing, sealant, primer, mounting-block components, and other products may have minimum application temperatures or special cold-weather procedures.
A flashing tape that appears attached may not have developed the bond required by its manufacturer. A sealant may become difficult to tool or may not cure as intended.
Review the technical data for every temperature-sensitive component in the wall assembly. Do not assume that warming a tube, roll, or cartridge automatically makes application acceptable on a frozen substrate.
When Should a Contractor Stop Winter Installation?
Productivity should never override product requirements or crew safety. A professional contractor should pause or postpone work when conditions prevent a compliant installation.
Reasons to stop may include:
- The manufacturer does not permit installation under the conditions.
- Panels are cracking, chipping, or breaking during normal handling.
- Snow or freezing precipitation is entering the wall assembly.
- Flashing products, tapes, or sealants cannot be applied properly.
- Ice, wind, or poor visibility creates an unsafe work environment.
- The crew cannot reliably measure, cut, fasten, or engage the panels.
- The substrate is frozen, wet, damaged, or otherwise unsuitable.
Winter Installation: Good Practice Versus Risky Practice
| Installation Detail | Better Practice | Risky Practice |
|---|---|---|
| Product instructions | Verify current cold-weather requirements | Assume all vinyl installs the same way |
| Material storage | Store flat, supported, and protected | Leave cartons twisted or covered in snow |
| Panel handling | Carry and cut cold panels carefully | Drop, bend, or force the panels |
| End clearance | Account for future warm-weather expansion | Cut panels tightly into receiving channels |
| Fastening | Secure panels while preserving lateral movement | Clamp nail hems tightly to the wall |
| Flashing products | Follow each product’s temperature requirements | Apply adhesives to frozen or unsuitable surfaces |
Iowa Winter Siding Installation Checklist
- Review current instructions for the exact siding product.
- Verify the application limits of tapes, flashing, and sealants.
- Evaluate wind, precipitation, ice, daylight, and overnight conditions.
- Store cartons flat, supported, and protected from damage.
- Handle and cut cold panels carefully.
- Inspect panels for cracks, chips, and damaged locks.
- Remove snow, frost, and ice before covering the wall.
- Complete the water-resistive barrier and flashing system.
- Use the correct fasteners, spacing, and penetration.
- Center fasteners in nail slots where required.
- Avoid clamping the siding tightly against the wall.
- Confirm each panel can move laterally.
- Use the manufacturer’s cold-weather clearance requirements.
- Fully engage panel locks without stretching the courses.
- Stop work if conditions become unsafe or noncompliant.
Winter Workmanship Will Be Judged in Summer
A winter siding installation may look straight when the panels are cold and contracted. The real stress test comes after the exterior heats up. Panels cut too tightly or fastened too firmly may develop waves and buckles months after the crew leaves.
Contractors should inspect alignment, seam placement, accessory clearances, fastener depth, and lateral panel movement throughout the installation. Those details protect both long-term performance and curb appeal.
Premium vinyl siding deserves an installation that anticipates the complete Iowa temperature cycle—not only the weather on installation day.
Leverage Your Local VSI Trainer
Cold-weather installation questions should be resolved before material is cut or fastened. Brian “JR” Girskis, President of Suburban Wholesale & Supply, is a VSI Trainer with more than 25 years of experience in exterior building products.
JR helps contractors understand vinyl siding installation principles, review manufacturer specifications, evaluate cold-weather conditions, and train employees on the details that protect finished siding projects.
Quad Cities contractors can leverage this local resource when they have questions about winter clearances, fasteners, wall preparation, accessories, material handling, or an unusual jobsite condition.
Winter Installation Requires More Discipline, Not Lower Standards
Vinyl siding can often be installed successfully during an Iowa winter, but the crew must respect how cold temperatures affect the panels and every temperature-sensitive component in the wall system.
Proper storage, gentle handling, approved cutting methods, adequate warm-weather expansion clearance, correct fastening, completed flashing, and safe working conditions are all essential.
The best installations combine current manufacturer specifications, VSI installation guidance, applicable ASTM standards, building-code requirements, and experienced jobsite judgment.
Get Winter Installation Support in the Quad Cities
Suburban Wholesale & Supply serves contractors throughout Davenport, Bettendorf, Eldridge, Muscatine, Moline, Rock Island, East Moline, and surrounding Iowa and Illinois communities. We provide premium vinyl siding, compatible accessories, manufacturer information, contractor support, and jobsite delivery.
Contact Suburban Wholesale & Supply and ask how VSI Trainer Brian “JR” Girskis can help your crew prepare for a winter vinyl siding project.
Part of: Installation
More in Installation
- Why Vinyl Siding Starter Strip Matters | Davenport, Iowa
- Why Proper House Wrap Matters Behind Vinyl Siding
- Vinyl Siding Flashing Details Every Installer Should Know
- Installing Vinyl Siding During Summer Heat | Contractor Guide
We host VSI and manufacturer training at our Davenport training center. Ask the counter about upcoming classes.
Share This Post
Share it on Facebook or X, or send it through your device share sheet for Instagram.