Learn proper nailing techniques for premium vinyl siding, including fastener placement, spacing, penetration, expansion movement, and pneumatic nailer settings. VSI Trainer Brian “JR” Girskis supports contractors throughout the Quad Cities.
Contractor Education | Suburban Wholesale & Supply
Proper Nailing Techniques for Premium Vinyl Siding
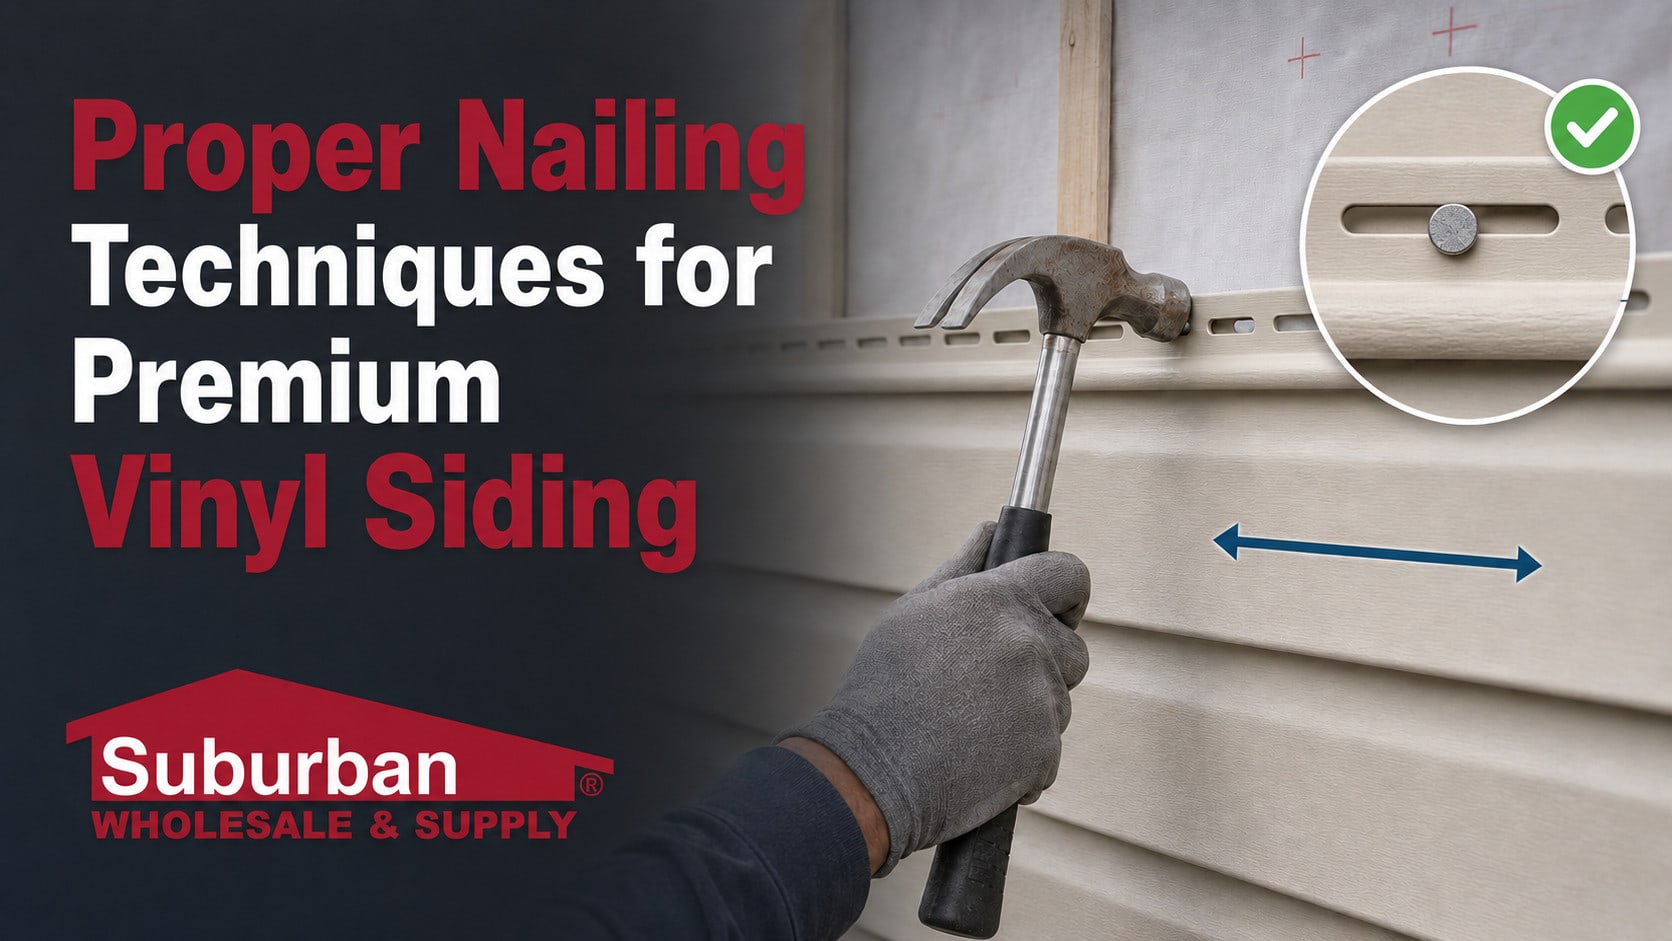
Premium vinyl siding should be securely attached without being tightly pinned to the wall. Correct fastener selection, placement, spacing, and depth allow the siding to handle wind while continuing to expand and contract as temperatures change.
By Brian “JR” Girskis, President of Suburban Wholesale & Supply and VSI Trainer
Nailing may seem like one of the simplest parts of a vinyl siding installation, but it is also one of the easiest places to make a costly mistake. A fastener driven too tightly can restrict panel movement. A fastener placed incorrectly can distort the nailing hem. Inadequate penetration or excessive spacing may reduce the siding system’s ability to withstand wind.
These details matter with every vinyl siding product, including premium panels such as Gentek Sequoia Select and other heavier-gauge siding systems. Premium siding can provide a straighter, more substantial appearance, but panel thickness cannot overcome careless fastening or an unsuitable wall assembly.
The correct approach is not simply to “nail up the siding.” Vinyl siding should be hung so it remains secure while retaining the freedom to move within the limits intended by the manufacturer.
Follow the Requirements for the Exact Siding Product
Fastener requirements are not universal. Contractors should verify the instructions for the exact manufacturer, product line, profile, wall assembly, and wind condition before beginning installation.
- Manufacturer specifications: The siding manufacturer’s current instructions establish product-specific fastener type, head size, length, spacing, penetration, clearance, and accessory requirements.
- VSI installation guidance: VSI training teaches the accepted principles behind fastening vinyl and polymeric siding, including centered fasteners, thermal movement, substrate preparation, panel engagement, and water management.
- ASTM D3679: This standard addresses rigid PVC siding product requirements and directs installers to the applicable installation practice and manufacturer instructions.
- ASTM D5206: This standard provides a method for evaluating the wind-load resistance of rigid plastic siding. Installed performance still depends on the supporting wall, fasteners, accessories, spacing, and workmanship.
- Building-code requirements: Applicable codes may establish additional fastening, attachment, water-resistive barrier, and wind-design requirements.
Manufacturer specifications should be present on the jobsite. Do not substitute a remembered measurement or a crew’s usual practice for the current instructions governing the actual product.
The Central Principle: Hang the Siding—Do Not Pin It
Vinyl siding expands when it becomes warm and contracts when it cools. The elongated slots in the nailing hem are designed to accommodate this movement. Proper fastening keeps the panel attached while allowing it to move horizontally.
A fastener driven tightly against the nailing hem can clamp the panel to the wall. As the siding attempts to expand, the panel may buckle, ripple, unlock, or push against a receiving channel.
Secure does not mean tight. The siding must remain attached without being prevented from moving as designed.
1. Select the Correct Fastener
The proper fastener must be compatible with the siding system, resist corrosion, provide adequate holding strength, and reach the fastening base required by the product manufacturer and applicable code.
Evaluate these fastener characteristics:
- Material: Use corrosion-resistant fasteners suitable for exterior exposure and compatible with adjoining materials.
- Head size: The head must properly engage the nailing slot without pulling through or damaging the hem.
- Shank size: The fastener must meet the manufacturer’s requirements and provide the necessary holding strength.
- Length: The fastener must pass through the siding and any additional wall materials while reaching the required fastening base.
- Fastening base: Confirm whether the product requires attachment to framing, structural sheathing, furring, or another approved substrate.
Never choose fastener length based only on the siding panel. The entire wall assembly—including foam, existing siding, sheathing, and furring— affects the length required to achieve proper attachment.
2. Inspect the Fastening Base Before Installation
Even the correct fastener cannot perform properly if it is driven into a weak, damaged, or unsuitable surface. Before siding begins, determine what is behind the exterior and whether it can provide the required attachment.
Look for potential problems such as:
- Rotten or deteriorated sheathing
- Loose existing siding
- Foam without an approved fastening strategy
- Uneven furring strips
- Unknown wall layers on older homes
- Fasteners that fail to reach the required base
Quad Cities remodeling projects often involve older homes with several layers of exterior material. Contractors should investigate the wall rather than assume every fastener is reaching solid material.
3. Place Fasteners in the Center of the Nail Slots
Unless the manufacturer provides a different instruction for a particular accessory or special condition, fasteners should generally be positioned near the center of the elongated nail slots.
Centered placement gives the panel room to move in both directions. Placing a fastener at the end of a slot can limit movement and concentrate stress at that location.
Fastener-placement mistakes include:
- Fastening at one end of the slot
- Driving through the solid portion of the hem
- Breaking or tearing the edge of the nail slot
- Angling the fastener through the slot
- Creating a new hole without an approved method
4. Drive Fasteners Straight and Level
Fasteners should be driven straight into the wall rather than angled upward or downward. An angled fastener can pull one side of the nailing hem toward the substrate and restrict panel movement.
Straight fastening also allows the fastener head to bear evenly across the slot. This reduces the chance of damaging the hem or creating a localized pressure point.
5. Do Not Drive the Fastener Head Tight
The fastener head should not clamp the vinyl nailing hem tightly against the wall. The exact allowable gap should come from the current manufacturer instructions, but the practical test is whether the panel can still move freely from side to side.
Overdriving is particularly common when pneumatic nailers are set for framing or sheathing work and then used on vinyl siding without being adjusted.
Signs that a panel may be overfastened include:
- The nailing hem is visibly compressed.
- The panel cannot slide laterally.
- The siding surface ripples near fasteners.
- The panel begins to bow in direct sunlight.
- Panel ends push tightly against trim channels.
- Locks separate as the wall changes temperature.
6. Follow the Manufacturer’s Fastener Spacing
Fasteners should be installed at the spacing identified for the exact siding product, profile, application, and wind condition. Different rules may apply to horizontal siding, vertical siding, soffit, accessories, and high-wind applications.
Wider-than-approved spacing can allow the siding to move excessively or place too much load on individual fasteners. Adding unnecessary fasteners does not correct improper placement and may restrict movement if those fasteners are overdriven.
Do not publish or rely on one universal fastener spacing for every premium vinyl siding product. Verify the current manufacturer specification before the job begins.
7. Achieve the Required Fastener Penetration
Fastener penetration is measured into the approved fastening base—not merely through the visible wall layers. Foam, old siding, and nonstructural materials generally should not be treated as structural attachment unless the complete assembly has been approved for that use.
Insufficient penetration may leave the panels vulnerable to movement or wind. Excessively long fasteners can also create avoidable risks if the installer has not considered utilities, wiring, plumbing, or other concealed conditions.
Match fastener length to the complete wall assembly and follow the product instructions, project documents, and applicable building code.
8. Adjust Pneumatic Nailers Before Production Begins
Pneumatic fastening can improve consistency and productivity, but only when the tool is properly configured. Air pressure, depth settings, fastener type, wall hardness, and installer technique all affect the final result.
Before fastening a full elevation:
- Confirm the tool and fastener are appropriate for the siding system.
- Test the nailer on a representative wall area or approved mock-up.
- Adjust pressure and depth so the head does not pinch the nailing hem.
- Confirm that fasteners are entering straight.
- Test the panel for free lateral movement.
- Recheck settings when the substrate or wall assembly changes.
Tool settings should also be checked throughout the day. Compressor pressure, hose length, equipment changes, and different installers can affect fastening depth.
9. Do Not Pull the Panel Tight Before Fastening
Each siding course should be fully engaged with the course below, but it should not be stretched upward. Pulling hard on the panel and then fastening it places the course under tension and can distort its profile.
Allow the panel to hang naturally after the lock is fully engaged. Check courses regularly for level, consistent reveal, and clean shadow lines.
10. Avoid Face-Nailing the Visible Panel
Face-nailing means driving a fastener through the exposed surface of the siding rather than through the designated nailing hem. This can lock the panel in place, create a visible defect, and introduce an unnecessary water path.
If a difficult condition appears to require face fastening, stop and consult the manufacturer’s technical instructions. Do not create an improvised detail simply because the standard nailing hem is difficult to access.
11. Treat Accessories as Part of the Fastening System
Corner posts, J-channel, starter strip, utility trim, mounting blocks, soffit accessories, and other components have their own fastening and movement requirements. They should not automatically be fastened the same way as horizontal siding panels.
Review the manufacturer’s instructions for each accessory. Incorrectly fastened trim can bow, twist, restrict panel movement, or create uneven finished edges.
Account for Quad Cities Temperature Changes
Vinyl siding may be installed during hot summer weather, cold winter conditions, or temperatures somewhere between. The panel temperature at installation affects how much it may later expand or contract.
Proper fastening works together with the manufacturer’s required end-clearances. A panel may be correctly nailed yet still buckle if it was cut too tightly between corner posts or receiving channels.
Contractors should consider both fastening freedom and end clearance. Neither detail can compensate for the other.
Proper Fastening Versus Problem Fastening
| Installation Detail | Proper Technique | Common Mistake |
|---|---|---|
| Fastener position | Centered in the nail slot as directed | Driven at the end of the slot |
| Fastener depth | Secure while allowing lateral movement | Head clamps the hem to the wall |
| Fastener angle | Driven straight into the fastening base | Angled upward or downward |
| Spacing | Follows the current product specification | Based on habit or installer preference |
| Penetration | Reaches the approved fastening base | Stops in foam or weak wall material |
| Panel position | Fully engaged and hanging naturally | Stretched upward before fastening |
Fastening Quality-Control Checklist
Supervisors and crew leaders should verify these details throughout the installation—not only after the project is complete:
- The current manufacturer instructions are available to the crew.
- Fasteners are the correct material, style, size, and length.
- The wall provides the required fastening base.
- Fasteners are centered in the designated slots.
- Fasteners enter the wall straight rather than at an angle.
- Fastener heads do not clamp the nailing hem.
- Panels can move freely from side to side.
- Fastener spacing follows the product specification.
- Required penetration into the fastening base is achieved.
- Pneumatic tools are not overdriving fasteners.
- Panels are fully engaged but not stretched upward.
- Accessories are fastened according to their specific instructions.
Correct Nailing Protects the Finished Appearance
Fasteners are mostly hidden after installation, but their effect is visible across the entire wall. Improper nailing can create waves, distorted laps, uneven shadow lines, loose panels, and buckling around windows and corners.
Premium vinyl siding is selected partly for its straighter, more refined appearance. Correct nailing allows that panel to lie naturally against the wall while responding to seasonal temperature changes.
Product quality and installation quality are inseparable. A heavier panel may improve rigidity, but it still needs correct attachment, clearance, layout, and wall preparation.
Leverage Your Local VSI Trainer
Fastening questions should be resolved before hundreds of panels are installed. Brian “JR” Girskis, President of Suburban Wholesale & Supply, is a VSI Trainer with more than 25 years of experience in exterior building products.
JR helps Quad Cities contractors understand proper vinyl siding installation, review manufacturer specifications, evaluate fastening methods, and train employees who are developing their installation skills.
Contractors can leverage this local technical resource when determining the correct fastener, working over foam or existing siding, adjusting pneumatic tools, interpreting a product manual, or addressing an unusual wall condition.
Premium Siding Deserves Disciplined Installation
Proper nailing is not measured by how quickly a crew covers the wall. It is measured by whether the fasteners provide secure attachment while allowing the siding to move as designed.
Contractors who follow manufacturer specifications, VSI installation guidance, applicable ASTM standards, and building-code requirements are better positioned to produce straight, secure, and attractive siding installations that hold up through changing Quad Cities weather.
Get Premium Siding and Contractor Support
Suburban Wholesale & Supply serves siding contractors throughout Davenport, Bettendorf, Moline, Rock Island, East Moline, and surrounding Quad Cities communities. We provide premium Gentek vinyl siding, accessories, product knowledge, jobsite delivery, and contractor training support.
Contact Suburban Wholesale & Supply and ask how VSI Trainer Brian “JR” Girskis can help your crew strengthen its vinyl siding installation practices.
Part of: Installation
More in Installation
- Why Vinyl Siding Starter Strip Matters | Davenport, Iowa
- Why Proper House Wrap Matters Behind Vinyl Siding
- Vinyl Siding Flashing Details Every Installer Should Know
- Installing Vinyl Siding During Summer Heat | Contractor Guide
We host VSI and manufacturer training at our Davenport training center. Ask the counter about upcoming classes.
Share This Post
Share it on Facebook or X, or send it through your device share sheet for Instagram.